Thursday, 25 April 2013

How to know what skin type You have

To determine what skin type You have is one step closer to beautiful skin, Because then its easy to know what skin care products You need for your skin. I found this simple and easy way to know your skin type a long time ago and it's awesome because it's something I bet You all have at home... Sticky tape!

What You will need:
Clear sticky tape

Skin types: normal, dry, oily, combination

1. Wash your face with a cleanser, then pat dry btw make sure to remove any makeup.

2. Wait about 30-60 mins after washing your face so your skin goes back to its natural state.

3. Cut off 3 small piece of clear sticky tape (about 3-5cm)

4. Apply the tape smoothly to the bridge of your nose, centre of your forehead, and the centre of your cheek.

5. Now remove the sticky tape and examine the sticky side of it. If there's dry flakes, you have dry skin, if there's little droplets and feels oily, then you have oily skin, if there's a little bit of both, you have combination skin, if there's neither then You have normal skin.

Now you know your skin type! :)


Saturday, 30 March 2013

Easter special: Chocolate chip cupcakes

OMG these look sooo delicious! I so just wanna eat chocolate right now. These are a little bit different for Easter but it still has chocolate cause seriously who does not eat chocolate on Easter? :) the recipe: Chocolate chip cupcakes

Servings: 24 cupcakes

Ingredients:

For the cupcakes:

3 and 1/4 cups cake flour

1 and 1/2 tablespoons baking powder

1/4 teaspoon salt

1 and 3/4 sticks (14 tablespoons) unsalted butter, at room temperature

1 and 3/4 cups sugar

1 cup plus 2 tablespoons milk

1 tablespoon vanilla extract

5 egg whites, at room temperature

2 cups miniature semisweet chocolate chips

For the frosting:

12 tablespoons (1 and 1/2 sticks) unsalted butter, at room temperature

12 ounces cream cheese, at room temperature

1 and 1/2 cups light brown sugar

Method:

1. For the cupcakes: Preheat the oven to 350 degrees.

2. Line your cupcake pan with the liners of your choice.

3. In a large bowl, combine the cake flour, baking powder, and salt, mixing until combined.

4. In the bowl of your standing mixer fitted with the paddle attachment, cream the butter and sugar at medium-high speed until light and fluffy, about 2 minutes.

5. Reduce the mixer speed to low.

6. In a small bowl, combine the milk and vanilla, mixing well.

7. Beginning and ending with the dry ingredients, alternately add the flour and milk mixtures to the butter mixture.

8. In a separate bowl using a hand mixer, beat the egg whites until stiff peaks form.

9. Gently fold the egg whites into the cupcake batter, mixing until combined.

10. Add the chocolate chips to the batter.

11. Divide the batter evenly among your cupcake liners and bake until a tester inserted into the center comes out clean, about 20-22 minutes. Let cool completely before frosting.

12. For the frosting: In the bowl of your standing mixer fitted with the paddle attachment, combine the butter, cream cheese, and brown sugar, mixing well until light and fluffy.


Thursday, 28 March 2013

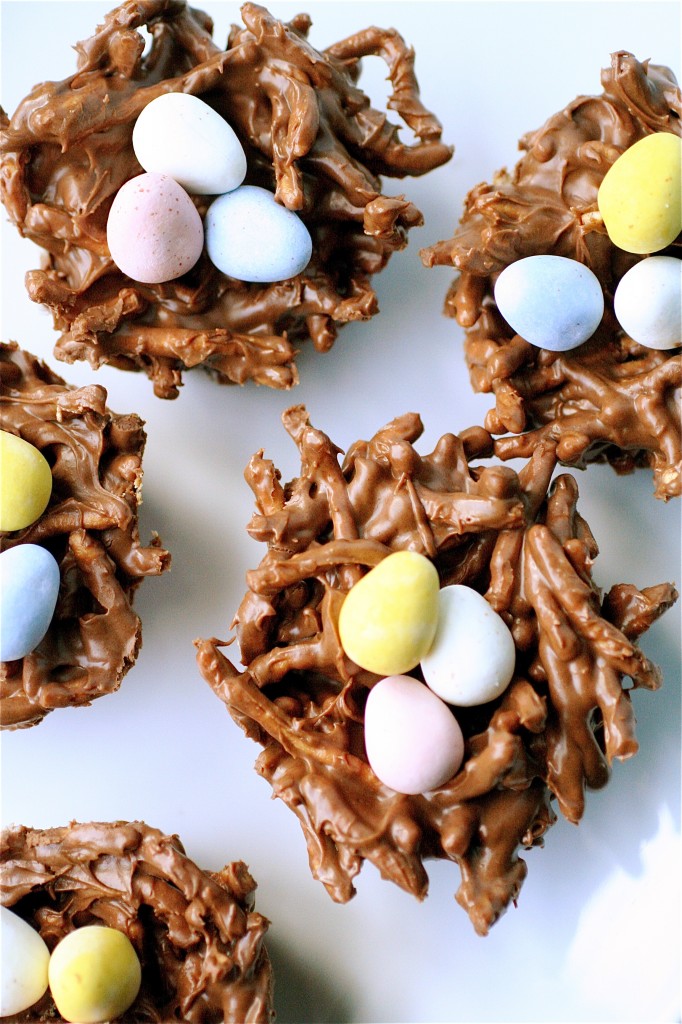
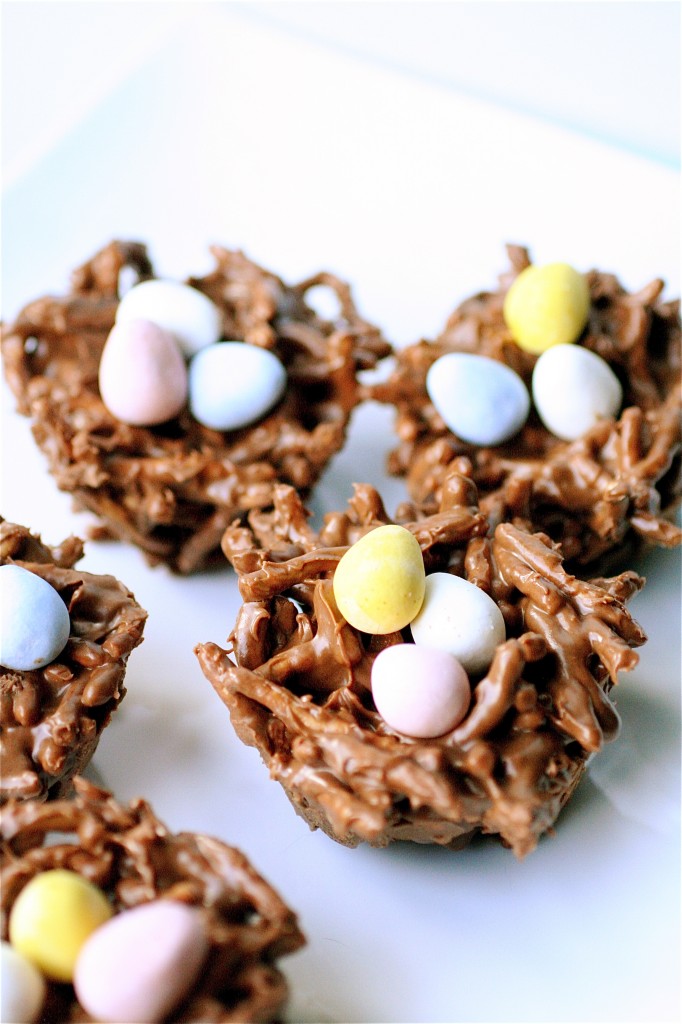
Easter special: chocolate bird nests


So easter is just around the corner and i wanted to do another recipe for easter again. omg i can't wait try this! i have more recipes for easter coming up and hopefully a DIY. here's where i found the recipe: chocolate bird nests

Ingredients:

1 tablespoon of unsalted butter, for greasing the muffin pan

6 ounces (1/2 bag) of semi-sweet chocolate chips

6 ounces (1/2 bag) of butterscotch chips

1 cup creamy peanut butter

6 ounces (1/2 of a large bag) of chow mein noodles

36 mini cadbury eggs


Method:

1. Generously grease the wells of a muffin pan with the butter (this will help later when you are taking out the chilled nests).

2. In a large microwave-proof bowl, heat the chocolate and butterscotch chips in 30 second intervals until thoroughly melted, stirring after each increment.**It only me took two 30-second intervals.

3. Once melted, add the peanut butter to the chocolate/butterscotch mixture, mixing well until smooth and completely combined.

4. Carefully add the chow mein noodles, stirring with a wooden spoon or rubber spatula, until completely coated.

5. Using a large spoon, mold the mixture into the wells of your muffin tin, indenting the tops slightly with the back of the spoon.

6. Chill the nests until hardened, about 1 hour or so.

7. Once chilled, gently remove the nests from the muffin tin.***I used a butter knife as a lever to pop them out-this seemed to work.

8. Place three eggs (or colored jelly beans!) on the tops of each nest.


More easter recipes you might like:

chocolate covered strawberries


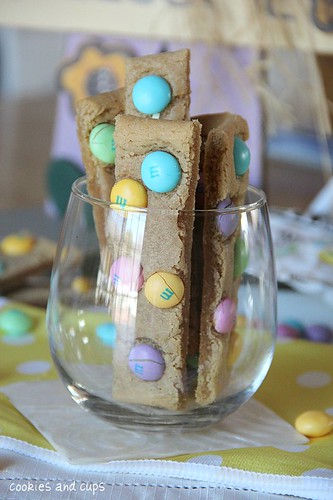
M&M cookie sticks


chocolate shell brownies


Thursday, 21 March 2013

Cute polish!

Hey everyone, I don't know if any of you have heard of cutepolish on YouTube but she is amazingly talented with nail art. I love her videos, especially the nail art she does! So I'm going to a blog post of some of my fav nail art from her. Another great thing about her videos and nail designs is that there short and very easy!

Btw I wan't to let You know that I am going to do lady gaga nail art blog post and video soon and I promise I will get up to it, cause I know I did a blog post on it months ago, saying i would but never got around to it.

Make sure to check out her YouTube channel.

Glitzy rainbow tiger nail art

I love this nail design! I love pink but I also love rainbow/colourful things.
I'm a big fan of animal print to... The rainbow and animal print combined together is so pretty And It's so easy!

Products used in cutepolish's video:
- OPI Alpine Snow
- China Glaze Salsa
- OPI Shorts Story
- OPI Green-wich Village
- China Glaze Bahamian Escape
- OPI Black Onyx
- Milani Jewel FX - 530 Gems


Galaxy nail art

Something You don't know about me is that I LOVE space!
And who wouldn't love to wear the beauty of space on your nails? "Omg yes!"
This may look complicated but really it's not.

Products used in cutepolish's video:
- Sally Hansen Diamond Strength Hardener
- Sally Hansen Black Out
- China Glaze Solar Power
- OPI Chapel of Love
- China Glaze First Mate
- OPI Alpine Snow
- China Glaze Fairy Dust (the BEST glitter polish to make stars! fine holographic glitter)
- Essie Good To Go Top Coat


Mystical mermaid nail art

Another thing you may not know about me but I love fantasy, Especially mermaids! This look reminds me of a gold a mermaid tail and it's so beautiful. This is so easy... And yes I know, I say they are all easy but that's because they are and that's the beauty of it!

Products used in cutepolish's video:
- OPI - Just Spotted the Lizard
- Essie - Trophy Wife
- Milani Jewel FX Gems


More places you can find me:
youtube
twitter
instagram
pinterest
pose - fashionmonster
snapeee - littlemonster

Monday, 11 February 2013

How to: kiss proof your lipstick!


Hey everyone! Valentines day is just around the corner and you probably are wondering how am I going to kiss my date on valentines day (or anyway day!) without lipstick ending up their lips? Well I have the solution! Keep reading to find out how to get soft, KISSABLE lips.

1. Exfoliate your lips

You need to exfoliate your lips... I mean You don't wanna kiss someone with dry cracked lips. You can use some vaseline and a tooth brush to remove the dead skin but my favorite way is a lip scrub! Click Here to find out how to make your own homemade Lip scrub .

2. Moisturize your lips

You need to use a lip balm to lock in that moisture! Make sure to use one that has SPF in to avoid further dry or cracked lips.

3. Line your lips

Lining your lips with a lip liner is a important step! This will help your lipstick to last all day and avoid feathering, especially if your going to be eating and drinking.

4. Lip stain

 a lip stain is a great base for your lipstick and helps with the to add colour and last longer especially between eating and drinking and of course kissing! Try Revlon just bitten or covergirl outlast.

5. Colour

 Use a lipstick to add colour and Make sure to use a matte lipstick because if your going to be kissing someone it is less likely to end up on the other persons lips! Quick tip, try maybellines 14 hour lipstick.  

That's it hope this helped! Btw make sure to skip the lip gloss because I found that lip gloss will absorb the colour from your lips when your drinking or eating. Just finish off with a matte lipstick and if you want at the end of the date you add some lip gloss of you want. 

Have a wonderful valentines day! xo


Monday, 7 January 2013

Helen green society6 haul: lady gaga Art prints, T-shirt's and more!

If you follow me on twitter and instagram you would know that i got my gaga stuff from helen green in the mail yesterday! a lot of you were asking "how much did it cost?, what size should i get? etc" So i thought i would do a blog post on it... even though i was going to anyway lol.

I will film a haul video but i am going away in a day to visit some family and go on a little vacation and i'm having technical difficulties with my laptop again.

Helen Green I Society6
This website is one on my favourite website's now! everything comes good, nothing comes wrecked, there is so much stuff to choose from and there are throw pillows now. For the t-shirts, bags and hoodies you can choose what colour you wan't. if you wan't to find out more about this amazing website click here.

Short/quick haul video part 1: Klip
Part 2: Klip

Q&A:

Q: what size was the hoodie?
A: XL ( i think american size)
Q: What size should i get for a 16 year old guy? and what american sizes are in compare with European?
A: I'm not sure but Go on google for US clothes sizes in your country
Q: How much did everything cost all together?
A:  $260 (not bragging or showing off! my mum paided for everything and it was a christmas present)

Art prints.

Tote bags.

T-shirts.

The hoodie is so big! but it fits and i won't be wearing it
for a while because its so hot.


Hoodie.

Ipad skin's.


High princess

by Helen Green

ART PRINT / MINI (8" X 10")

$15.00

High Princess Art Print


Princess Tea Party

by Helen Green

ART PRINT / MINI (7" X 10")

$15.00

Princess Tea Party Art Print

ARTPOP Princess

by Helen Green

ART PRINT / MINI (8" X 10")

$15.00

ARTPOP Princess Art Print

Gaga in Milan

by Helen Green

ART PRINT / MINI (8" X 10")

$15.00

Gaga in Milan Art Print

Gaga and fozzi

by Helen Green

ART PRINT / MINI (7" X 10")

$15.00


Gaga and Fozzi Art Print


Government Hooker

by Helen Green

ART PRINT / MINI (8" X 10")

$15.00

Government Hooker Art Print

Vuitton Brown

by Helen Green

TOTE BAG / NATURAL CANVAS TOTE WITH POCKET

by Helen Green

TOTE BAG / BLACK CANVAS TOTE

$22.00

Princess Gaga Tote Bag

Gaga Yellow Blonde

by Helen Green

TOTE BAG / NATURAL CANVAS TOTE WITH POCKET

$18.00

Gaga Yellow Blonde Tote Bag

ARTPOP I

by Helen Green

T-SHIRT / WOMENS FITTED TEE LIGHT PINK

$18.00
ARTPOP I T-shirt

ARTPOP Princess

by Helen Green

T-SHIRT / WOMENS FITTED TEE LIGHT PINK

$18.00

ARTPOP Princess T-shirt

Degenerate Young Rebel

by Helen Green

T-SHIRT / WOMEN'S FITTED TEE LIGHT PINK

$18.00

Degenerate Young Rebel T-shirt

The Joy When Freedom Prevails

by Helen Green

HOODY / UNISEX ZIP WHITE SMALL

$38.00


(My hoodie/jumper did not have a zip when i got it)


Fame

by Helen Green

LAPTOP & IPAD SKIN / IPAD (2ND, 3RD, 4TH GEN)

$25.00

Fame Laptop & iPad Skin

Monster Queen

by Helen Green

LAPTOP & IPAD SKIN / IPAD (2ND, 3RD, 4TH GEN)

$25.00


Monster Queen Laptop & iPad Skin


Thursday, 3 January 2013

DIY: how to make your own bubble bath


Hey everyone! So I'm back with another DIY! I have done so many DIY's before like Lady gaga's born this way jacketFace mask and more! I was gonna wait and film a video on how to do this and then do a blog post but I'm having technical difficulties with my laptop again. This bubble bath really works I have made this twice and love it, it's cheap, saves You money and you probably already have these ingredients at home!

What You will need:
120 ml of baby shampoo
180 ml cup of water
Pinch of Salt
A few drops of Essential oil (any scent You like)
A bottle to put the bubble bath in (plastic is best so if you drop it, it won't break)

Method:
Pour all the mixture into a pretty bottle and shake it to mix it up (use a measuring cup to measure how much baby shampoo/water you need). You can decorate your bottle with some ribbon and stickers! Once the mixture is poured into a bottle, just pour the bubble bath into warm running water and enjoy your relaxing bubble bath.


Btw everyone, happy new year! i hope everyone had a great 2012 and 2013 is even better :)
- caitlin

more places you can find me!
twitter
youtube
littlemonsters
instagram
pinterest

Email me for requests, questions and more! Pinkelectricbeautymonster@gmail.com